
Bikepacking bags install to a rack, handlebars or frame of a bicycle using straps, velcro and cord attachment systems. Each product has a recommended method. See below for specific instructions on how to install North St bikepacking bags to your setup.
How to Install Adventure Micro/Macro Panniers
How to Install Roll-Top Trunk Bag
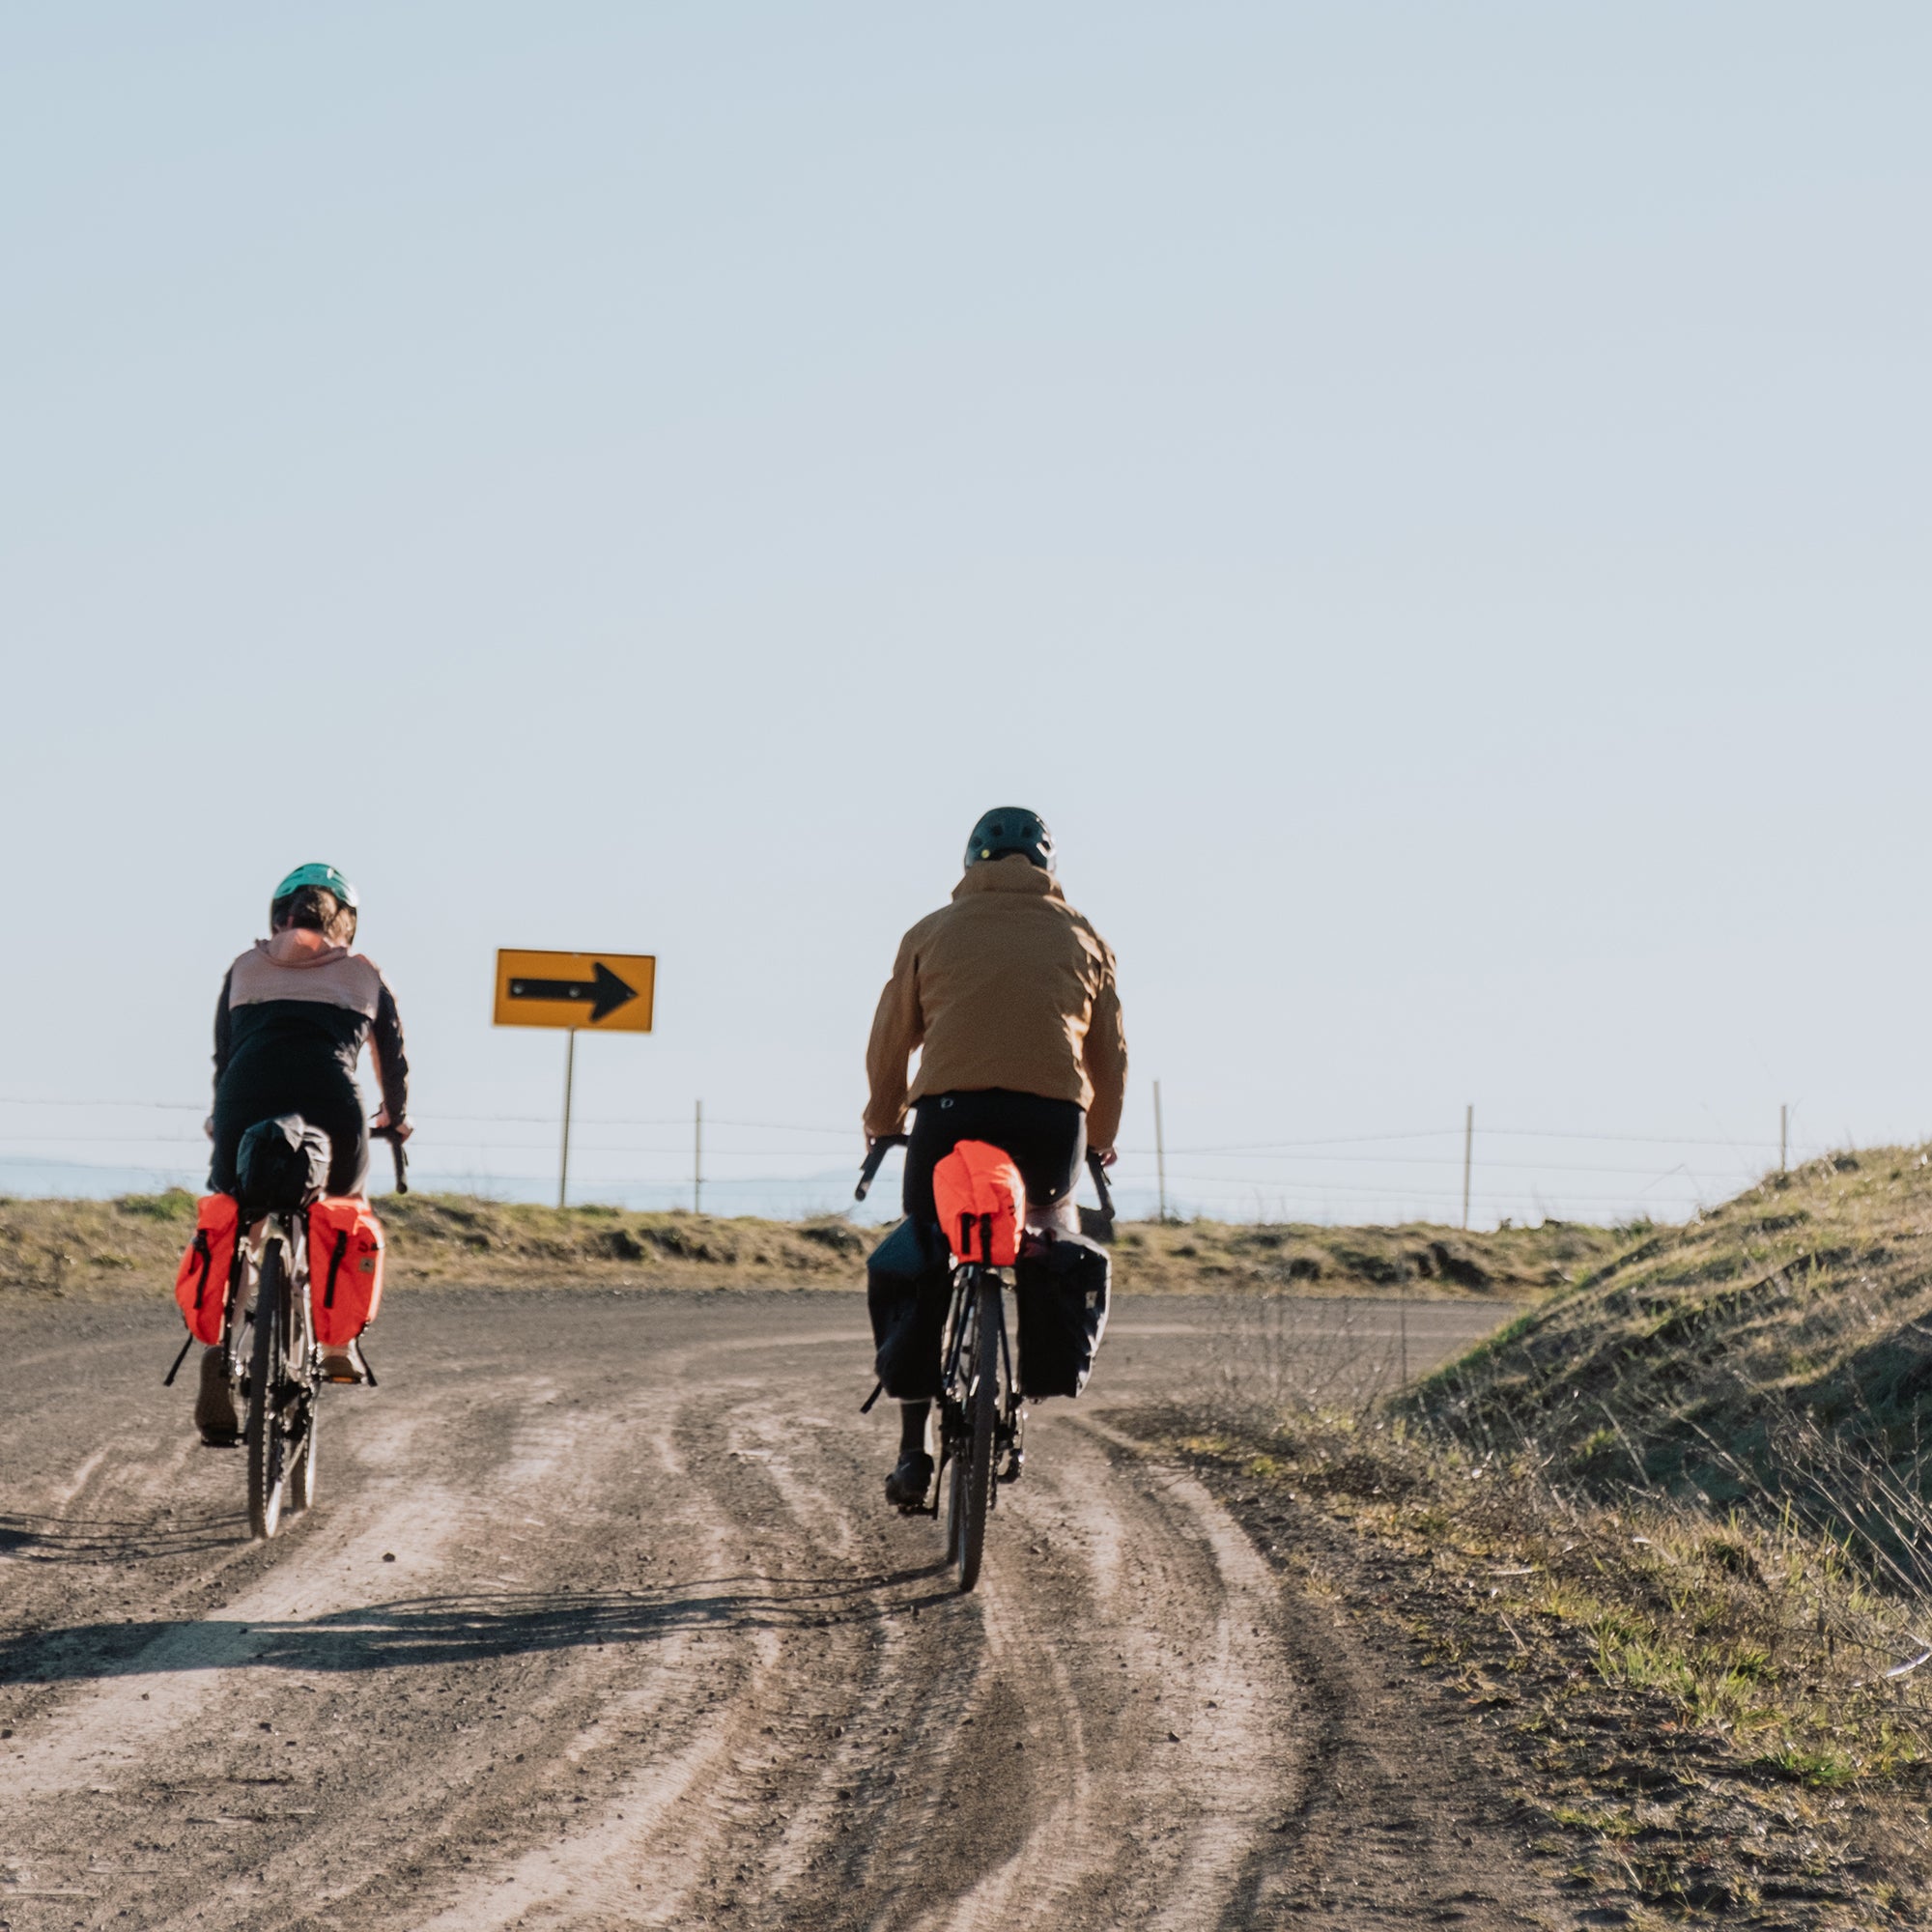
The unique and durable lineup of bikepacking bags from North St is designed to hold up for many miles of bikepacking adventures. A successful trip depends on having the right gear, and knowing how to use it and, importantly, how to install it on your bike. This guide show you how to install bikepacking bags on your rig to ensure the best ride experience possible.
One quick note before we dive in - our bags fit on a range of rack products. We initially designed the Adventure Pannier and Roll-Top Trunk Bag in collaboration with Old Man Mountain for use on their Divide and Elkhorn Racks, the bags work well on many other brands as well including Surly, Blackburn, Salsa and PDW. Racks do come in many shapes and sizes, and with different mounting philosophies. If you are not sure if our bags will work with your rack, reach out and we can help investigate!
How to Install Adventure Micro/Macro Panniers

These classic yet rugged side haulers are designed to withstand extended gravel and singletrack rides. The hook and loop strap attachment system is secure, lightweight, and it reduces vibrations and rattles. Proper installation of your Adventure Micro 14L Pannier or Adventure Macro 21L Pannier set will ensure many years and 1000s of miles of use.
Steps to install Adventure Micro/Macro Panniers
- Determine which side of the rack you will be placing the bag, and set the bottom strap to line up with the lower loop or mounting bracket on your rack.
- If needed, move the bottom compression strap by squeezing the gatekeeper clip to open it, and resetting it on the other tab.
- Mount your empty pannier to the rack starting with the top hook and loop straps. Feed the strap AROUND the rack rail and through the plastic loop part. Then stick the strap back onto itself, making sure to tighten as necessary. Repeat this for both of the top straps.
- Feed the bottom compression strap through the lower loop or mounting point on the rack.
- Clip the ghost eye hook to the tab on the front of the bag to secure the bottom, and tighten for a secure fit.
- Adjust this setup as needed on your rack.
- See this process in action in the video below
The Adventure Micro and Adventure Macro Panniers come with built in stiffener panels for added stability. These are removable by accessing the sleeve inside the bag. The plastic panel makes for a great campsite cutting board, or you can remove them entirely from your kit in order to save weight. Make sure to do a test ride to ensure there are no issues before choosing to leave these panels behind.
How to Install Roll-Top Trunk Bag

Add extra cargo capacity to your rig with a Roll-Top Trunk Bag. Designed to sit on top of your front or rear bikepacking rack, it provides easy access for items you might want on hand during the ride. Read the steps below, or watch our quick demo video on how to install the Roll-Top Trunk bag to a rack.
The Trunk Bag comes with a stiffener panel which may need to be installed before use. This helps the bag keep its shape and provides some added stability to your load. Using this panel is optional, but be sure to do a test ride with your bike fully loaded to make sure there are no issues before setting off.
Steps to install Roll-Top Trunk Bag
- If needed, install the provided stiffener panel by slotting it into the sleeve on the interior of the bag. The panel will bend along the bottom corners of the bag and up onto each side to provide added support.
- Unstick the hook and loop straps so that all straps hang free.
- Starting with one side, feed the two straps through the rack deck and tightly secure the straps.
- Repeat the above step for the other side.
- Adjust the straps as needed so the bag is centered and secure on the rack.
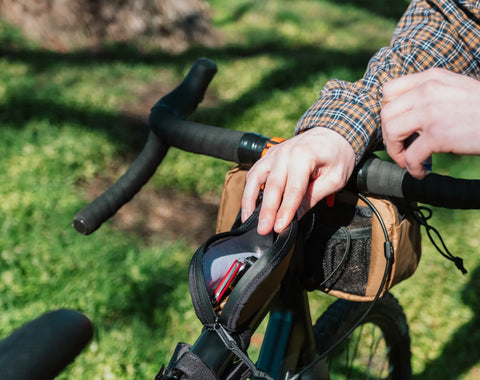
How to Install Handlebar Pack

The latest design in our bikepacking collection, the dedicated Handlebar Pack enhances your ride and provides easy access to your phone, camera, snacks and tools. It mounts securely to your handlebars with a low-profile system that won’t compete with other cockpit accessories. Read the steps below or watch the demo video on on how to install the Handlebar Pack.
The Handlebar Pack comes with a plastic stiffener panel which may need to be installed before use. This panel helps keep the bag in its shape, preventing it from sagging and impeding your brakes, wheel or other gear.
Steps to install the Handlebar Pack
- If needed, install the provided stiffener panel by slotting it into the sleeve on the interior of the bag. The plastic panel will bend along the bottom corners of the bag and up onto each side to provide added support.
- Feed the provided Voile Nano straps through the webbing loops on the top of the bag.
- Hold the bag up to your handlebars to ensure the strap positions will work for you, and move them as necessary.
- Tighten the Voile straps.
- Feed the provided shock cord through the webbing tab on the back of the bag.
- Wrap the shock cord around your stem or head tube, and secure with the cord lock.
- Adjust the bag as needed.
How to Install Fuel Pouch
The perfect snack pouch to keep you on the road, the Fuel Pouch attaches simply to your stem, top tube or seat tube for easy access. Read the steps below on how to install the Fuel Pouch, or watch the demo video.
Steps to install the Fuel Pouch
- Determine the placement and position that will work best for your bike.
- Use the three provided OneWrap straps to secure the pouch. Use at least one at the top of the bag.
- Wrapping the straps around brake cable housing will work just fine, but be sure not to install over unhoused brake cables. This will add additional wear to the pouch, and may impede braking.
Related articles:
Ultimate Guide to Packing for your Next Bikepacking Adventure